In my previous articles, I’ve explained a lot about how fiber optic communication works — how light travels through glass and how signals are transmitted with incredible speed and precision.
But today, let’s switch from theory to practice. Let’s talk about something that every fiber technician, installer, or curious learner eventually needs to understand: fiber optic splicing.
TABLE OF CONTENTS
What Is Fiber Optic Splicing and Why It Matters
Fiber splicing is the process of joining two optical fibers together so that light can pass from one to the other with minimal loss.
In short, it’s how we make two separate fibers “become one.”
The most common type of splicing used in the field is fusion splicing. It uses a small, controlled electric arc to melt and fuse the glass ends of two fibers. The result, when done correctly, is a seamless joint where the light signal can continue traveling almost as if there were no break at all.A good splice has very little signal loss — typically less than 0.05 dB. But a poor splice, caused by misalignment or dirt, can cause reflection, attenuation, and unstable connections.
Think of it this way: fusing two fibers is like melting two thin glass rods together — if they are perfectly aligned and clean, they bond smoothly; if not, even a speck of dust can block the light path.
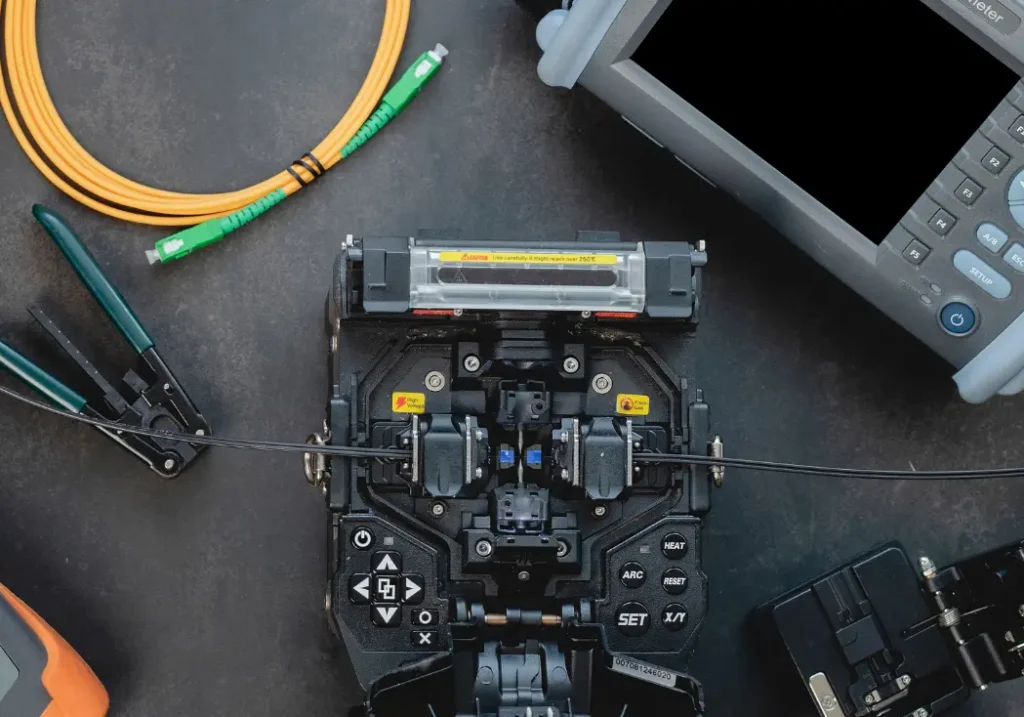
Before You Start: Preparation and Equipment
Modern fusion splicers are much more advanced than they used to be.
Today, most machines on the market are all-in-one splicing platforms, which means they integrate several processes — fiber cleaving, alignment, arc fusion, and heat-shrink protection — into one compact unit.
Before starting, make sure you have the following ready:
- The fusion splicer itself
- Fiber cleaver (if not integrated)
- Fiber stripping tool
- Isopropyl alcohol and lint-free wipes
- Heat-shrink protection sleeves
- Optional: cleaning tools and a fiber waste container
The working area should be clean, wind-free, and well-lit.
Dust and moisture are the enemies of good splicing, so never perform the procedure in a dirty or unstable environment. Also, always wear safety glasses — stripped fiber fragments are sharp and almost invisible.
Step-by-Step: How to Splice Optical Fiber
Although modern splicers automate much of the process, understanding each step helps you perform cleaner, more reliable splices.
Below is a typical sequence that most technicians follow.
1. Slide the Heat-Shrink Sleeve First
This is the most common beginner mistake — forgetting to place the protection sleeve before starting.
Always slide the heat-shrink tube onto one of the fibers before stripping or splicing. Once the splice is complete, you won’t be able to add it.
2. Strip the Fiber Coating
Use a fiber stripper to carefully remove the outer coating and buffer layers. You’ll expose the bare glass core and cladding, usually 125 microns in diameter. Do it gently and in one smooth motion to avoid bending or scratching the glass. After stripping, you can gently tap it to check for any broken.
3. Clean the Bare Fiber
Immediately clean the exposed glass with a lint-free wipe soaked in 95% isopropyl alcohol.
Any trace of oil, dust, or residue can cause bubbles or uneven fusion.
Once cleaned, place the fiber in the machine’s holder or a protective slot to prevent contamination.
4. Cleave the Fiber End Face
This step determines how well the two fibers will join.
Use a high-precision fiber cleaver to cut the fiber end as flat and perpendicular as possible — ideally with a cleave angle less than 1 degree.
A poor cleave will always result in high splice loss, no matter how advanced your machine is.
5. Place the Fibers in the Splicer
Now, insert both fibers into the splicer’s holders. Make sure you’re aligning the correct pair — for instance, matching fibers of the same color or label.
In most modern splicers, the system will automatically align the fiber cores using image processing and motorized stages.
For older or manual models, you’ll need to adjust the alignment manually using the built-in microscope and controls.
When everything looks aligned, close the lid and let the machine perform its job.
6. Fusion Process
The splicer will create a small electric arc between the two ends, melting and fusing the glass together.
The whole process only takes a few seconds. Once finished, the machine will usually display the estimated splice loss — a good result should be below 0.05 dB.
When removing the fiber, keep it straight.
Never push or bend the ends inward — that’s the easiest way to crack a fresh splice.
7. Heat-Shrink Protection
Slide the heat-shrink sleeve to the middle of the splice and place it in the built-in heater module of the splicer.
Start the heating process; within a minute or two, the sleeve will shrink tightly around the joint, protecting it from stress, moisture, and mechanical damage.
Wait for it to cool before handling or installing the fiber.
And that’s it — the fibers are now permanently joined.
Controlling Splice Quality
Even if your splicer is automatic, quality control still depends on careful preparation.
Here are a few key points to keep in mind:
- Cleanliness is everything. A tiny dust particle can cause a big loss.
- Cleave quality matters. Replace or adjust your cleaver blade regularly.
- Electrode condition. Dirty or worn electrodes can produce unstable arcs.
- Environmental factors. Humidity and wind can affect the arc temperature and stability.
After splicing, always test the link using an OTDR (Optical Time Domain Reflectometer) or optical power meter to confirm that the splice meets performance standards.
Common Mistakes for Beginners
Many first-time users encounter similar issues:
- Forgetting to install the heat-shrink sleeve first.
- Touching the fiber ends after cleaning, leaving fingerprints.
- Allowing dust to settle on the fiber before insertion.
- Using excessive force when placing or removing fibers from the holders.
It’s best to practice splicing on a few spare fibers before working on a real installation. Over time, you’ll develop a “feel” for the right amount of pressure and timing.
The Bigger Picture
A single splice might look small, but in a real-world fiber network, there can be hundreds or even thousands of them.
Each one contributes to the total signal loss. That’s why professional technicians take splicing seriously — they know that even a fraction of a decibel can make a difference in long-distance or high-speed transmission.
So, if you’re just starting out, take your time.
Good habits — cleaning, precision, patience — are what separate an average splice from a perfect one.
FAQ: Dispersion in Fiber Optics
What is the difference between fusion splicing and mechanical splicing?
Fusion splicing permanently joins two fibers by melting their ends with an electric arc, resulting in minimal signal loss.
Mechanical splicing, on the other hand, aligns fibers inside a connector or sleeve without melting them — it’s quicker but produces slightly higher loss.
How much signal loss is acceptable in a fiber optic splice?
A well-done fusion splice typically has a loss of less than 0.05 dB.
If the loss exceeds 0.1 dB, it’s worth checking for dirty fiber ends, poor cleaving, or misalignment.
How long does it take to splice a single fiber?
With modern all-in-one fusion splicers, a complete splice — including cleaving, alignment, fusion, and heat-shrinking — usually takes 2 to 3 minutes per fiber, depending on operator skill and machine type.
In Summary
Fiber optic splicing combines skill, precision, and patience. It may seem like a small part of the installation process, but it’s the key step that ensures the whole communication system performs reliably for years.
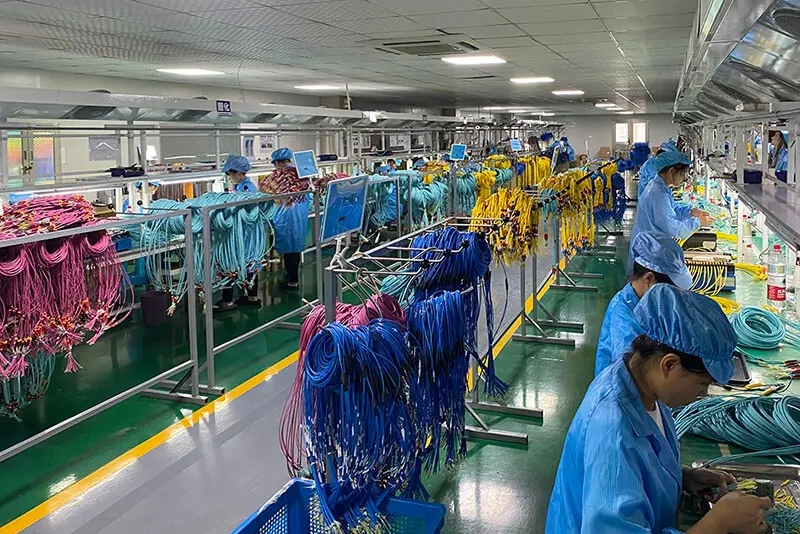
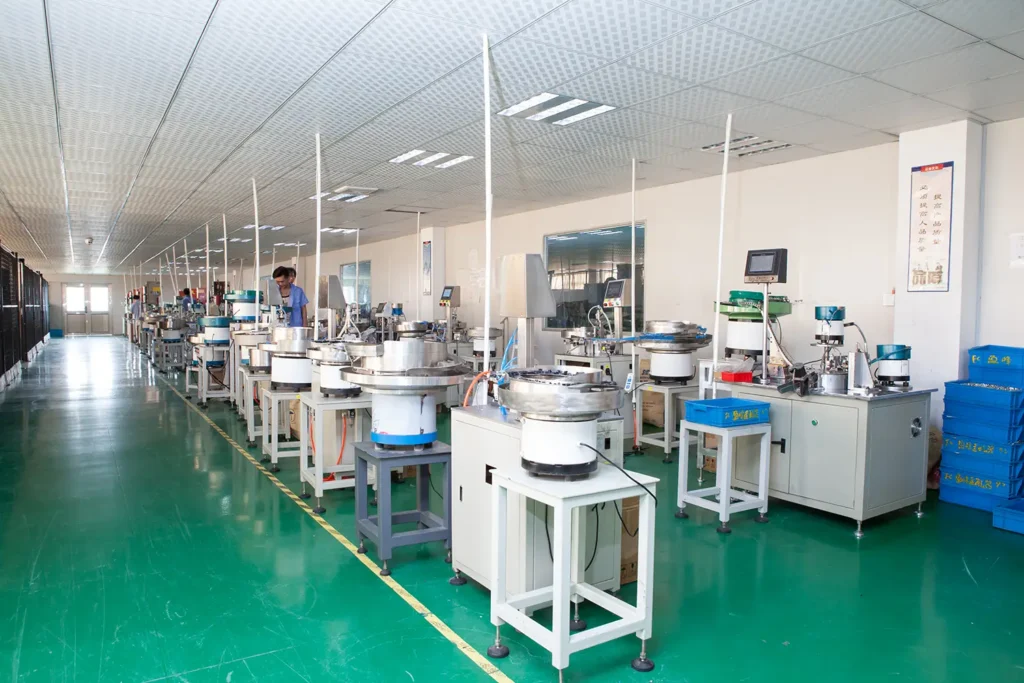
At YingFeng Communication, we’ve been working with fiber optic components and assemblies for decades — from connectors and patch cords to complete FTTH solutions.
Whether you’re building a new fiber network or upgrading an existing one, our products and expertise can help you achieve stable, low-loss connections that stand the test of time.